Home Industry Architecture and interior design How To Install Wall-mounted Ha...
Architecture And Interior Design
CIO Bulletin,
22 May, 2026
Author:
Guest
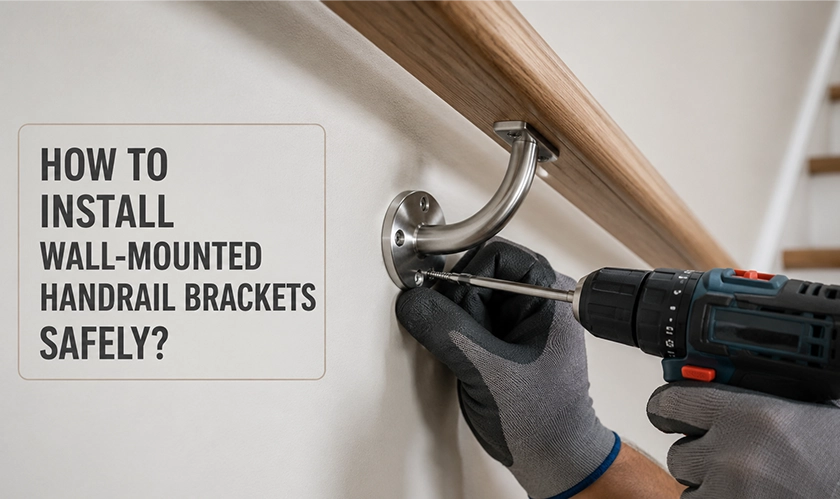
Loose handrails create serious safety concerns in homes, offices, stairwells, and public buildings with constant foot traffic. Poor bracket placement or weak wall support may slowly affect the stability of the entire railing system over time. Proper installation matters because handrails support balance, movement, and safer stair access for people of all ages. This article explains practical installation steps, common placement mistakes, and important details that help railing systems remain secure and reliable for long-term use.
Bracket selection should match both the handrail material and the wall surface before installation begins. Many installers now prefer stronger wall-mounted handrail brackets because reinforced support improves stability throughout staircases, ramps, and hallway railing systems. Steel and cast metal brackets usually perform well in high-traffic areas where stronger structural support matters most.
Drywall, concrete, brick, and wood framing may each require different mounting hardware depending on the wall construction. Proper bracket selection also helps reduce movement and long-term loosening around the railing system.
Balanced bracket spacing helps the handrail remain stable throughout the staircase length. Poor spacing may place excess pressure on certain sections of the railing, especially near corners or heavily used stair areas around the property. Accurate measurements also help the handrail appear visually level throughout the installation.
Several installers position brackets evenly between stair transitions to maintain cleaner alignment. Consistent spacing further supports smoother weight distribution during everyday use while improving the finished appearance across the staircase wall.
Wall studs provide stronger anchoring support compared to hollow drywall surfaces alone. Accurate stud placement becomes especially important in staircases that experience regular daily traffic or heavier handrail use throughout the building. Stud finders usually help installers avoid weak mounting points before drilling begins.
Careful marking also reduces alignment mistakes later during installation. Several professionals double-check measurements before attaching hardware because small placement errors may affect railing stability and visual balance along the staircase wall.
Mounting screws should remain tight enough to support the handrail securely without damaging the wall surface or bracket hardware itself. Excess pressure during installation may weaken drywall areas or distort metal bracket positioning around the railing connection points.
Several installers tighten hardware gradually across all mounting points instead of fully securing one bracket immediately. Balanced tightening also helps maintain cleaner alignment throughout the railing system while reducing strain around wall anchors and fasteners during installation.
Handrails should remain stable under moderate pressure before regular use begins. Small movement near brackets or visible shifting along the wall usually signals that hardware requires additional adjustment before the staircase becomes fully operational.
Several homeowners also inspect wall-mounted handrail brackets periodically after installation because vibration and daily use may gradually loosen hardware throughout the year. Routine checks help maintain stronger long-term stability while reducing potential safety concerns around staircases and connected hallway areas.
Some staircase layouts require professional support before installation begins, especially in curved staircases, concrete walls, or commercial environments where structural requirements become more demanding. Experienced specialists help compare bracket spacing, mounting hardware, and railing alignment based on the wall structure itself.
Professional guidance also becomes useful for custom railing layouts that involve decorative metal finishes or heavier handrail materials. Careful planning usually creates smoother installation results and stronger long-term reliability throughout the staircase system.
Safe handrail installation depends heavily on proper measurements, balanced spacing, and secure structural support throughout the staircase wall. Strong hardware, careful drilling, and routine stability checks all help reduce long-term movement or safety concerns after installation finishes. Several property owners continue using wall-mounted handrails because they support cleaner staircase layouts while maintaining dependable everyday functionality.


 consultants ltd.jpg)


